
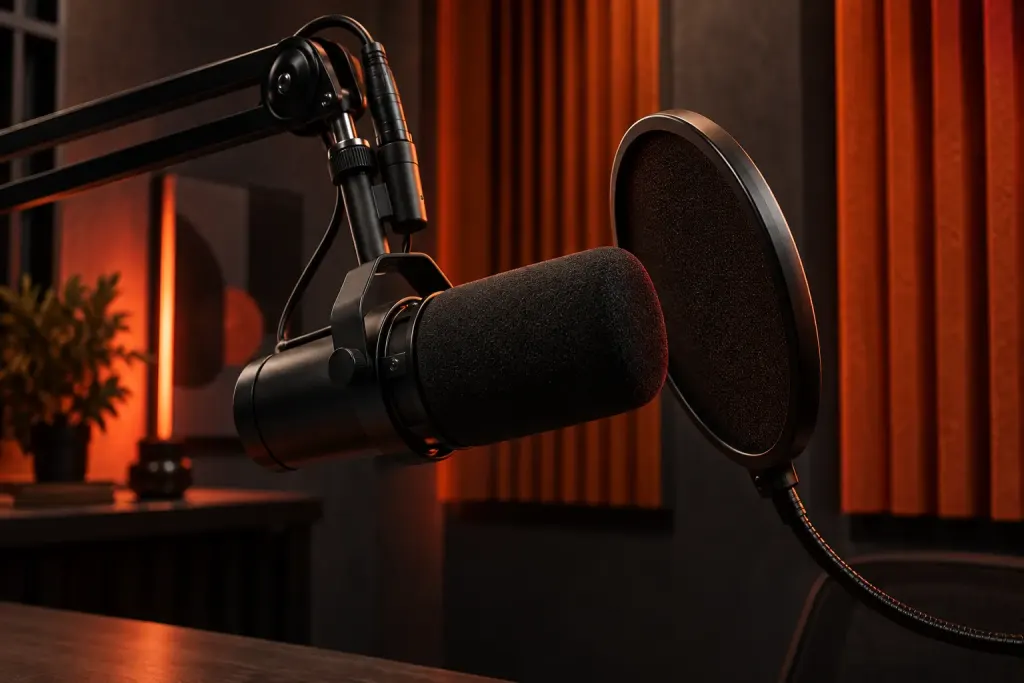
A recording sounds fine while you speak, then the pauses reveal a fan, a rattling window and footsteps outside. Opening a noise-removal effect may be the first instinct, but the next session can begin earlier: with the room.
This routine helps identify avoidable noise. It does not promise a professional studio sound from any space.
Listen before setting up
Spend a short period quietly noticing steady noises and occasional interruptions. Record a few seconds from the intended position, then listen back. The recorder may make a sound more noticeable than it seemed while you were concentrating on speaking.
Move away from a noisy appliance if practical. Do not block ventilation or disable equipment that needs to remain running. A different recording time may solve an intermittent problem more easily than editing.
Change one position at a time
Try a second location or microphone angle, using the same short passage. Keep the speaking style and input settings as consistent as possible. Compare both the voice and the background rather than judging only the quietest pause.
Write down the arrangement that worked better. A photograph of your own setup can help you reproduce it later without storing private material from the room.
Preserve a little natural room sound
Leave a short quiet section at the beginning or end of the take. It can help you understand the recording environment and make editorial decisions. It is not a guarantee that software can remove every problem.
Audacity’s repair guidance warns that stronger noise reduction can introduce distracting artefacts. Prevention and careful listening remain useful even when processing tools are available.
Before the full session, follow our test-recording routine. Fixing an avoidable sound in the room can save far more attention than repeatedly trying to hide it afterward.